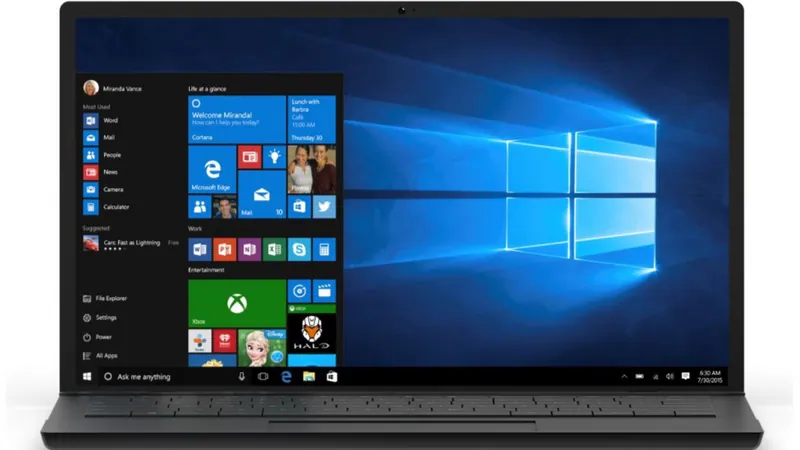
Windows offers a variety of methods for capturing screenshots, whether you want to capture the entire screen, a specific window, or a custom portion of the display. Each method works slightly differently depending on the version of Windows you’re using, but with a few simple keyboard shortcuts or built-in tools, you can easily take screenshots on Windows 10, Windows 11, and older versions. Here’s a comprehensive guide on how to take screenshots on Windows.
1. Full-Screen Screenshot
To capture the entire screen on Windows:
- Keyboard Shortcut: Press the
PrtScn(Print Screen) key. - What It Does: This will capture everything displayed on your screen and copy it to the clipboard.
- Where It Goes: To view and save the screenshot, you’ll need to paste it into an image editor like Paint or a document by pressing
Ctrl+V.
Windows 10 & 11 Alternative:
- Windows Key + PrtScn: This method captures the full screen and automatically saves the image to your Pictures folder under Screenshots.
2. Capture a Specific Window
To capture just a specific window:
- Keyboard Shortcut: Press
Alt+PrtScn. - What It Does: This captures the active window (the one currently in focus) and copies it to the clipboard.
- Where It Goes: Paste it into an image editor or a document to save and edit the screenshot.
3. Capture a Custom Portion of the Screen
To select a custom area of the screen to capture:
- Keyboard Shortcut: Press
Windows Key+Shift+S. - What It Does: This opens the Snip & Sketch tool (in Windows 10) or the Snipping Tool (in Windows 11). Your screen will dim, and a toolbar will appear, allowing you to click and drag to select the area you want to capture.
- Where It Goes: The screenshot is copied to the clipboard, and a notification will pop up allowing you to edit or save it.
4. Use the Snipping Tool
The Snipping Tool is a built-in Windows application that provides more control over your screenshots:
- Accessing Snipping Tool: Search for “Snipping Tool” in the Windows search bar.
- Options: You can choose to take a Free-form snip, Rectangular snip, Window snip, or Full-screen snip.
- Customization: The tool allows for more precise control, including a delay feature (like a timer) and the option to draw or annotate on your screenshot before saving.
5. Use the Snip & Sketch Tool (Windows 10)
Snip & Sketch is an upgraded version of the Snipping Tool introduced in Windows 10:
- Keyboard Shortcut:
Windows Key+Shift+S - What It Does: After capturing a portion of the screen, the tool opens automatically with options to annotate, crop, and save the image.
- Where It Goes: You can save the screenshot, copy it to the clipboard, or share it directly from the app.
6. Using the Xbox Game Bar (Windows 10 & 11)
For gamers or users who want to record their screen or capture screenshots during gameplay:
- Keyboard Shortcut: Press
Windows Key+Gto open the Xbox Game Bar. - What It Does: Click the camera icon or press
Windows Key+Alt+PrtScnto take a screenshot. - Where It Goes: Screenshots taken this way are saved in the Videos > Captures folder.
7. Automatic Screenshots with OneDrive
Windows 10 and 11 can automatically save screenshots directly to OneDrive:
- How to Enable: Right-click on the OneDrive icon in the taskbar, go to Settings, and check the box for “Automatically save screenshots I capture to OneDrive.”
- What It Does: Every time you take a screenshot using
PrtScnorWindows Key+PrtScn, the image will automatically be uploaded to your OneDrive folder for easy access across devices.
Where to Find Screenshots
By default, screenshots taken using Windows Key + PrtScn or the Snipping Tool/Snip & Sketch app are saved to your Pictures > Screenshots folder. If you’re using OneDrive’s auto-upload feature, they will be stored in your OneDrive folder.
Copying Screenshots to Clipboard
If you only want to copy the screenshot to your clipboard for pasting into another application without saving it:
- Use
Ctrl+Vafter taking the screenshot to paste it into an app like Paint, Microsoft Word, or an email.
Conclusion
Taking screenshots on Windows is highly versatile, with options for capturing full screens, individual windows, and selected portions of the screen. From the classic Print Screen shortcut to the more advanced tools like Snip & Sketch and the Xbox Game Bar, you can easily take and manage screenshots on any version of Windows. Whether you’re working or gaming, these methods ensure that you have the right tool for the job.

